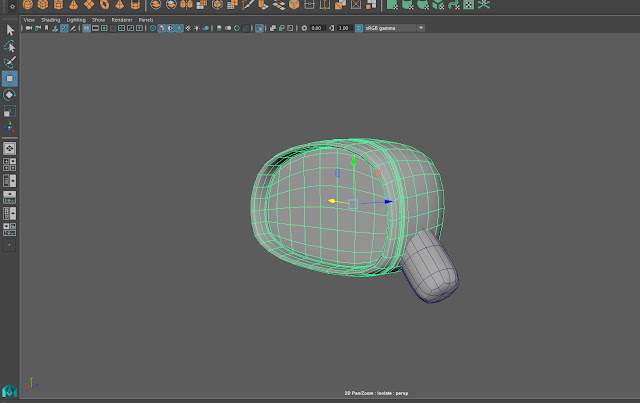
Throughout the process of this experimentation, I took the time to model each and every individual piece of the car, such as the wheels, doors, headlights etc. I encountered numerous problems during the process of creating this, for example, the tutorial was sped-up, so I found it difficult to understand what the artist was doing. I encountered this problem however, through patience.
 To do this, I imported a solid plane image of the Audi R8 in its side view orientation. As you can clearly see, all I would have to do is follow the individual lines with shapes. This is exactly what I did but with polygon planes. I followed the individual lines of the car to create different assets, such as the window frame, door etc. The image shows me working on the window frame so it accurately matches the image behind it.
I did the same for every single part of the car on the right half, so it can be mirrored over afterwards.
I did this until I had the entire right side of the car in shape and accurate to the original model. The image below shows this.
To complete the car, I'd need to mirror the geometry on its correct axis so it almost reflects this part of the car, thus making it complete.
To mirror the car on its correct axis, I clicked 'Mesh', and then the little box next to 'Mirror Geometry'.
After the settings window popped up, I looked at the axis that the car was orientated on - in this case, it was -X, so I changed the mirror direction to -X. I know this because, if the geometry was mirrored on the +X axis, it would mirror the car to the right, rather than to the left.
Obviously to the left is where we want it to be mirrored, so I finished my settings and clicked 'Mirror'.
After a few seconds, the car was completed and mirrored. This mirroring did however, have a few problems with it, such as an unusual line cutting down the middle. I fixed this problem by merging all of the vertexes until they were perfectly joined.
After minor fixing from the mirrored geometry process, I decided to finish up on extra details on the car, such as the Audi logo on the front and back of the car, the license plate, and the wheels.
For the Audi logo, the process was very simple. I created one ring using the polygon tools, selected it, and clicked 'Edit Mesh'. From the drop-down menu, I clicked 'duplicate' which allowed me to move each ring into position, resulting in an accurate depiction of the official Audi logo. No general problems with this as I was working with very basic shapes and basic tools.


No comments:
Post a Comment